So, here is how to set up VoIP.ms for SMS texting and call forwarding.
Important Term “DID”
The first thing to know is a specific term. DID, or “direct inward dial”, is your telephone number that can be called. In other contexts, it can mean the phone that will be connected to, when someone dials that number. In our context, it will just be the number.
Why the distinction? Outbound calls use a different system. Simple as that. Leave that for another time.
Follow the Money?
Bear in mind that, although the base cost for each DID is ridiculously low, nothing is free. SMS texts cost something like ¾ cent each, inbound and outbound calls cost by the minute (something around 1 cent per minute). I find this acceptable, because there’s no way that I could ever even come close to the cost of my old phone bill!
Accounting
OK, first thing is to create your account and fund it. All amounts are in USD. I would suggest using PayPal to fund it, and I’d suggest putting in US20 or US30 to start. You can set an “alarm” on your account to send an E-mail when your balance falls below a certain amount.
Once you’ve got your account and it is funded, then for the task at hand, here are the main management menu items you will use.
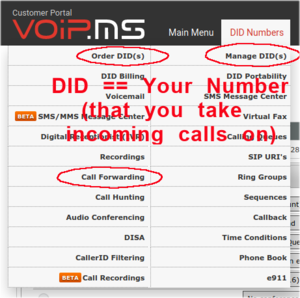
Set Up Call Forwarding Target
First, set up a call forwarding target. Select “Call Forwarding” and create an entry pointing to where you want calls to be potentially redirected to. You can create more than one – you can select which one is the actual target, for each DID.
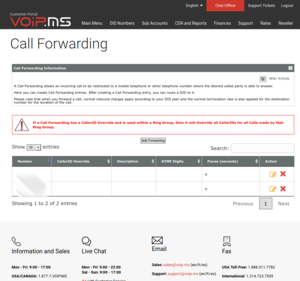
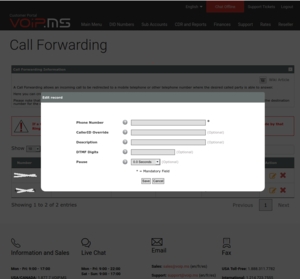
Here’s a sample entry screen. You don’t have to touch anything else except to put the 10 digit phone number of the target to forward calls to.
Ordering Arbitrary DID(s)
If you don’t have any DID(s) yet, you will have to go to “Order DID” first, and create them. The word “order” is a bit of a misnomer, because it’s all automatic and practically immediate. You can create as many as you want, and it’s quick. You can pick a telephone number in pretty well any area code in North America, and some numbers overseas. Be conscious of their cost, they don’t all cost the same in monthly cost or in inbound & outbound per-minute charges.
Porting Your Number In
You can also “port” your existing number from a cell phone or landline phone carrier to VoIP.ms. It’s a bit of a process – not that hard, you just have to read the procedure and go through the steps. The telcos are anal about making sure you follow the steps – they are trying to prevent port-out fraud, which has happened in the past, with disastrous consequences – think “SIM hijacking”, not nice.
Anyway, it is standard practice these days to set a port PIN on any mobile DID. This is wise to do. Be sure to keep it private. If set, then without this PIN, port requests are ignored. Of course, keep track of that port PIN, or else you won’t be able to perform a port either 😊 Keep these things in your password manager (use LastPass – don’t pass “go”, don’t do anything else – just do it).
When you port your cell phone number, be sure to indicate that it’s a mobile/cell phone.
Managing the DID Settings
Anyway, once you have any kind of DID in your account , go to “Manage DID(s)”:
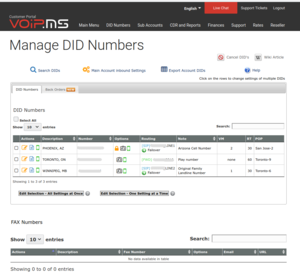
On the left, under “Actions”, you will see three coloured icons – an orange pencil & paper (edit this DID settings), a blue paper with lines on it (read-only view this DID settings), and optionally a green cell phone, which indicates that this DID supports SMS & MMS.
Click the orange pencil & paper icon, which should bring you to this screen:
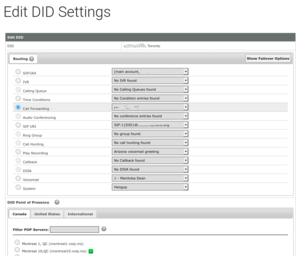
Select “call forwarding”, and if necessary, drop the selection box and choose where to route the call.
Scroll down and choose the DID point of presence:
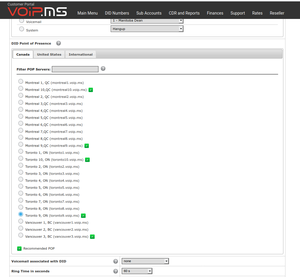
This simply is the Internet server location that you will connect to, when you come around to using a VoIP phone. I would select one close to your primary use location. You can change it later, but for your VoIP phone to work (inbound and outbound), your VoIP phone must point to the same server name.
Continue to scroll and you will see the SMS settings. Above that are a few key settings related to the cost of calls, review each one.
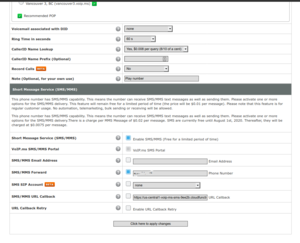
For SMS, you have to “enable SMS/MMS” and, if you want to SMS/MMS forward, to select this option and put the 10 digit target telephone number in here as well.
The “SMS/MMS URL Callback” option is for use with the VoIP.ms Android SMS application, see below. You can leave it unchecked, but the value should be “https://us-central1-voip-ms-sms-9ee2b.cloudfunctions.net/notify?did={TO}“, per below.
Save the changes, and it should work!
Installation of Android App to Support Near-Native Texting
There are a few limitations, but it works very well for me. It’s how I keep in touch with my friends in Phoenix (and formerly of Phoenix 😊). I ported my US cell phone number to VoIP.ms and use this app to text with them.
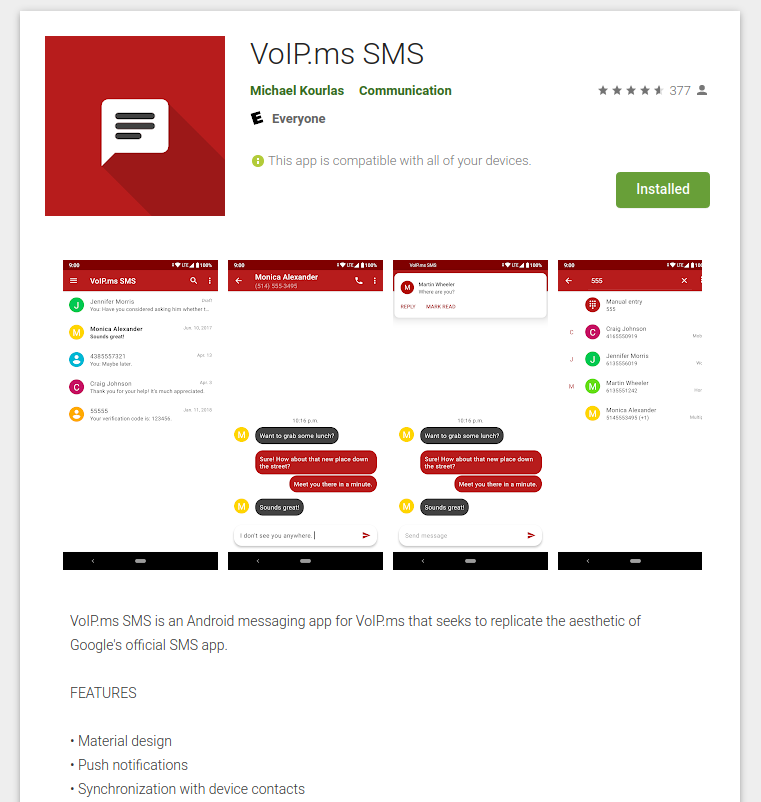
Here is the Android application:
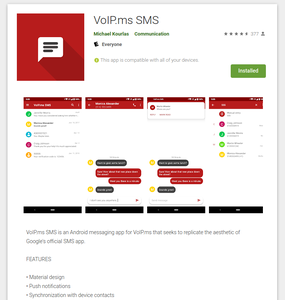
Now, the difficult part – setting it up. The app is open source, and its help page looks like this:
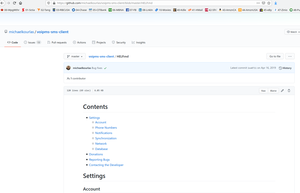
You have to enter that string into the DID\’s “callback” entry (see above), then enable the API connection back on VoIP.ms, see below
Enabling the API Connection
From the VoIP.ms main page, select “Main Menu”, then “SOAP and REST/JSON API”:
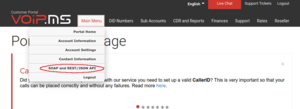
Put in an API password (this will be what you give to the Android app, above), enable the API, and ensure that the “Enable IP Address” is set to 0.0.0.0. You can restrict the IP address here, if it is well defined and won’t change.
![]()


